There are times that you receive an item, or have something that you want to make sure you can store it in a safe secure manner. In this case I recently received a amazing personalized branding iron, created by Gearheart Industries, and I decided to make a way to store it safely and keep it from getting getting damaged when it is not in use.
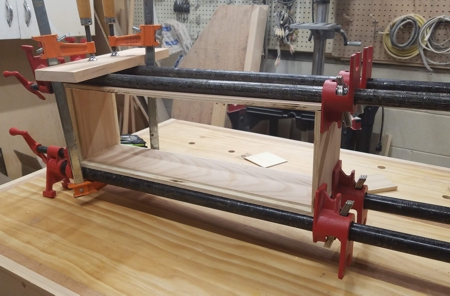
In this case i decided to take some of my plywood remnants and create a sturdy but fairly simple box. As with most projects, first you need to cut the pieces to size, and I added a few dado cuts to add some stability and support for the box. Then it was time to add some glue and put it in the clamps, and make sure everything was squared up.
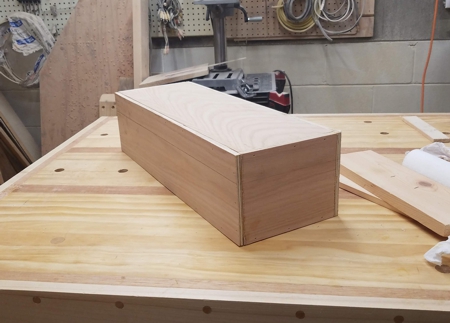
Then it set in the top and the bottom, and also added some brads to add some additional support to the box. I wasn’t trying to make anything overly fancy, but stable and sturdy. After the glue dried I was satisfied with how it was turning out.
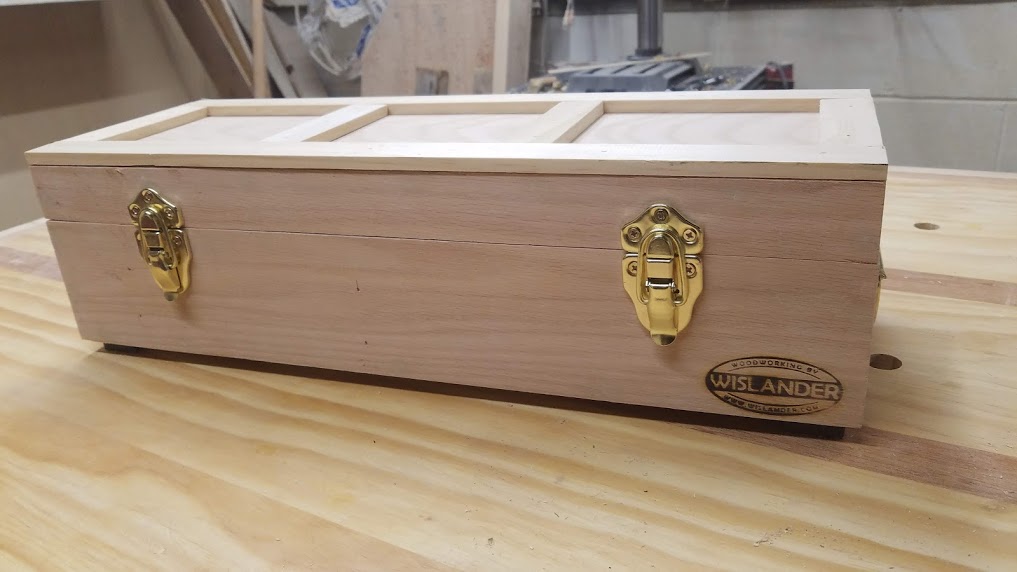
After that I used the table saw to to cut about an inch and a half down to separate the lid portion off; then added a couple of hinges, a couple of latches, and a couple of handles to make it functional and to bring it all together.
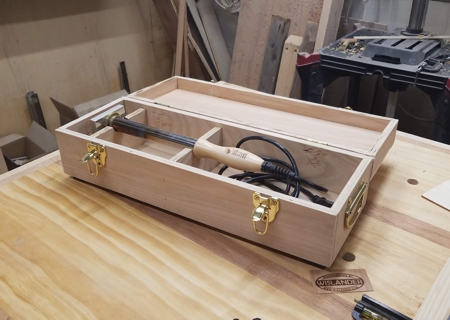
The next step was to create a couple of dividers to to support the branding iron in the box, and to keep it from rattling around in the box. I also needed to make sure there was enough room to store the electrical cord without bunching it up.
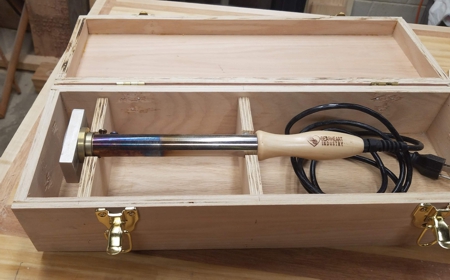
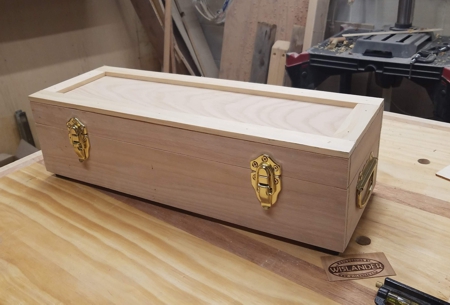
Once I verified that everything fit correctly, and worked for what I needed it to do, and added a little more molding wrap up the project, and of course, branded the box with the branding iron.