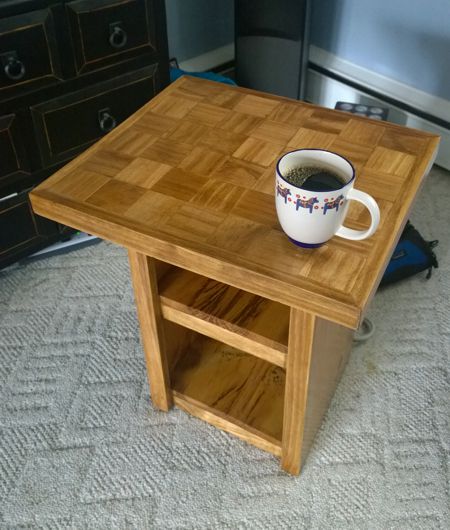
This is a nightstand I created for my girlfriend. It was designed to replace an old outdated table she had, and to give her some additional storage in her room.
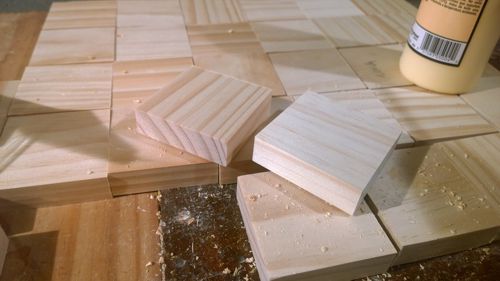
The design started with a bunch of 3″ square blocks of wood and a little bit of planning, and a of course a overall idea of what you want the item to look like in the end.
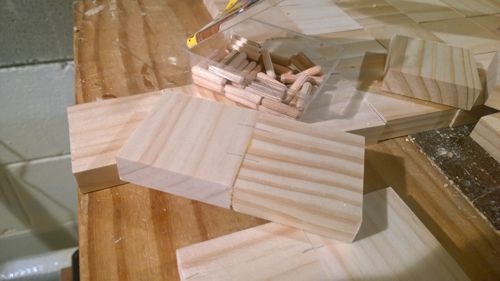
Of course as with anything made of wood, you also need a way to make all of the blocks stick together, in this case i’m using dowel rods and a healthy dose of wood glue.
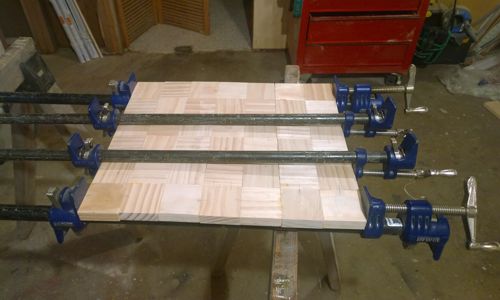
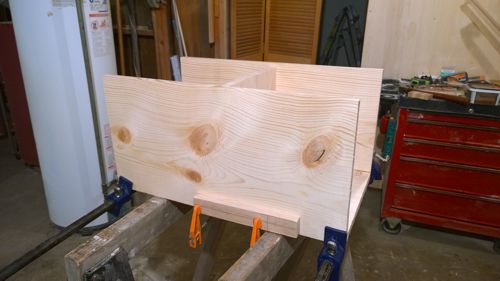
From there I started to shape the top, which means of course a lot more glue, and dowel rods, and wood clamps.

Once the rough shape is done it’s time to start squaring things up and framing out the top. This is pretty much the overall final design of the top of the nightstand.
Of course it’s no good to have a nightstand top, without having something for it to sit on. At this point it would be a good idea to start making the base.
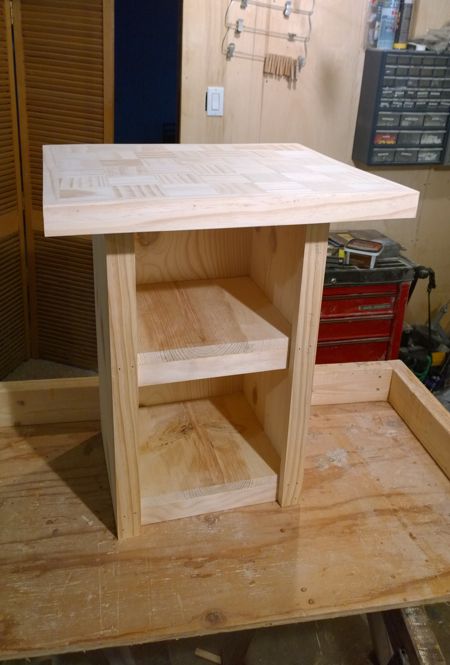
Once the base is fully designed and put together, it’s time to to test fit the top to make sure it all fits together and is the right scale for the overall design, and since that all checked out it’s time to mount it into place on the base.
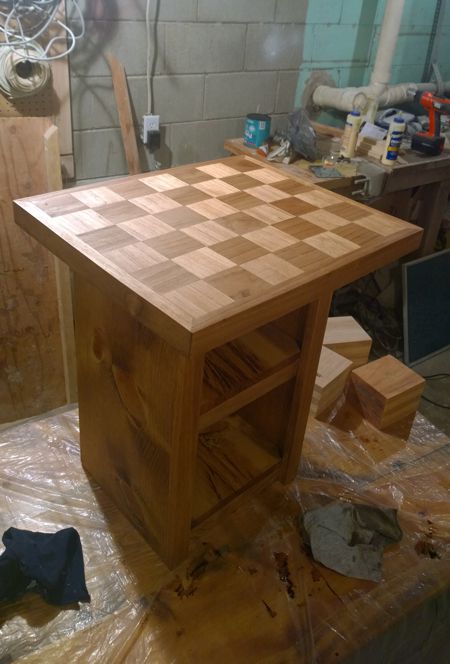
Then it’s time to start the finishing process. In this case I want to make the nightstand a little more richer in color than simple knotty pine that it’s made out of, and add a little depth to the design.
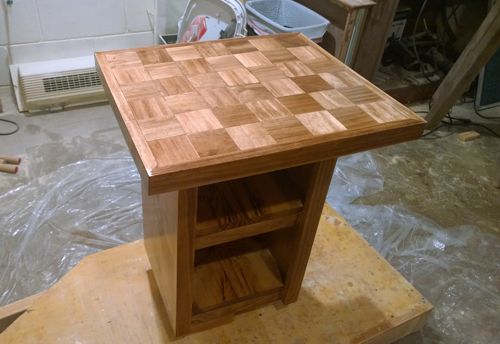
After the stain dried all it took was a few coats of polyurethane and the nightstand is done. Not too bad for a nice little weekend project.