After working on old beat-up saw horses, and an old war torn piece of plywood for several months, i finally decided that maybe, just maybe I might need a decent workbench to do my various projects on. This is the journey to my new work platform for my projects you see above.
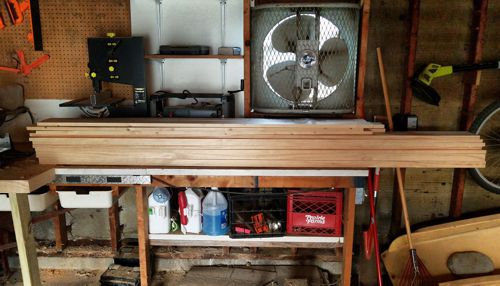
As I have said before, the best way to start a new project is to pick up some raw lumber, and then sit back and see if it makes something on it’s own. If it doesn’t then you have to take it into your own hands and start to build something yourself. and wonder if you math was accurate when you tried to estimate how much lumber you would need to make the project.
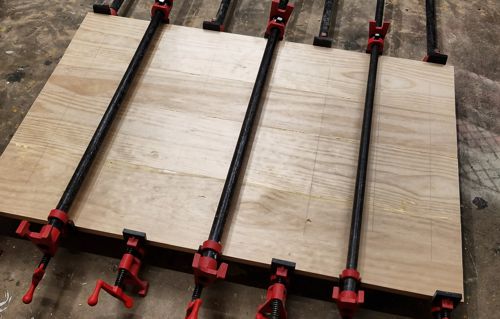
Let the gluing begin. At this stage of the game I am forming the surface of the two shelves that will provide storage and stability for the workbench. I have had a few people ask why I don’t just use plywood for the surfaces like this. to tell the truth, there is no good reason, other than I really like to work in solid wood stock, and it gives me comfort in forming my own panels like this.
Since both shelves for the workbench are exactly the same size, the measurements are easy, but on the other hand it means that all the work is doubled for part of the process.
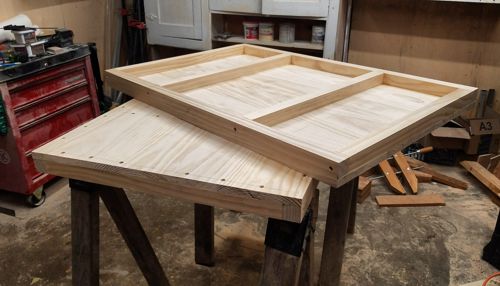
Since I wanted to make sure the workbench was stable, sturdy, and durable, I made sure to add a lot of additional supports for all of the horizontal surfaces. it of course also adds a lot of weight.
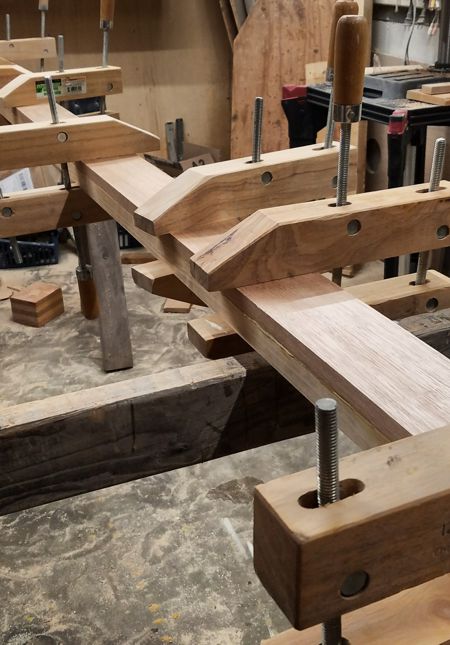
After the shelves are built, it’s time to start creating the legs that will hold everything together; and since i have a hard time making something simple, of course I wanted to add some depth into the design. So I’m gluing some mahogany and pine together.
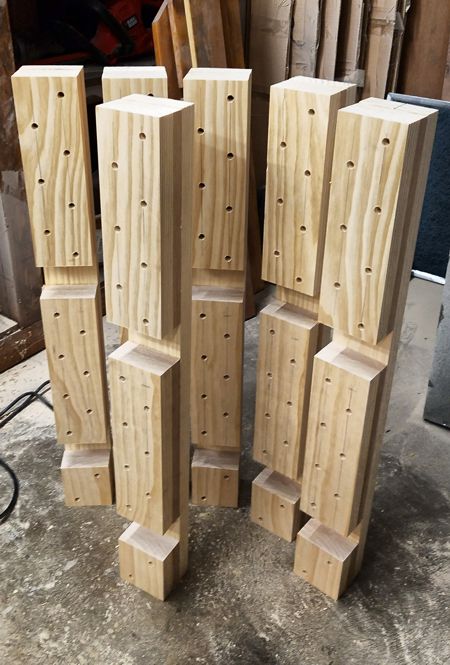
After the stock is glued, it was time to start shaping the six legs that will hold the base together. the formation is simple but sturdy. Instead of creating the legs and dado cutting out notches to fit the shelves in. Instead I cut the outer portion, and then created spacers for the shelves to sit upon.
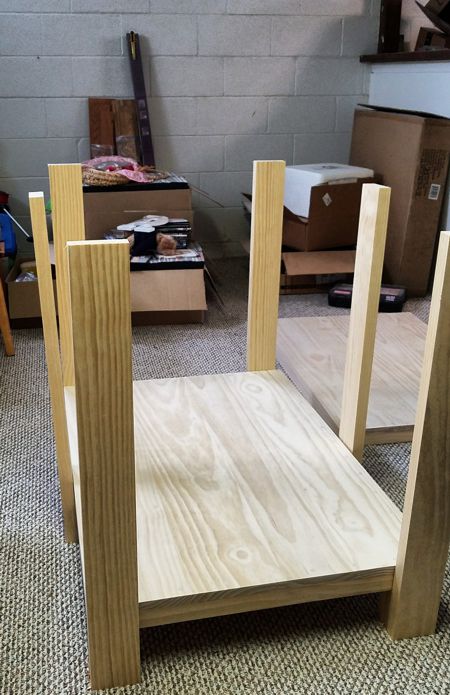
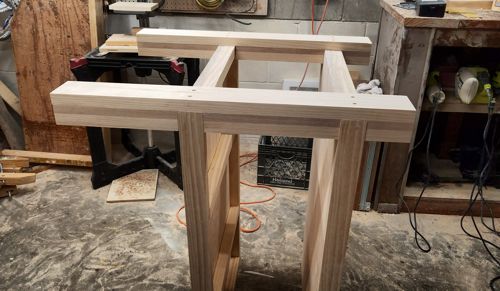
Each stage of the way making sure all aspects of the lets are created exactly the same size and perfectly squared. Because of this, even when everything is dry fitted together with no glue or bolts the base is stable and strong.
After the test and dry fit was complete, the only thing left to do was to finish bringing the pieces together. To do this I used a lot of glue, clamps, and wood screws. They are not going to shift fall apart, or separate when they are finished.
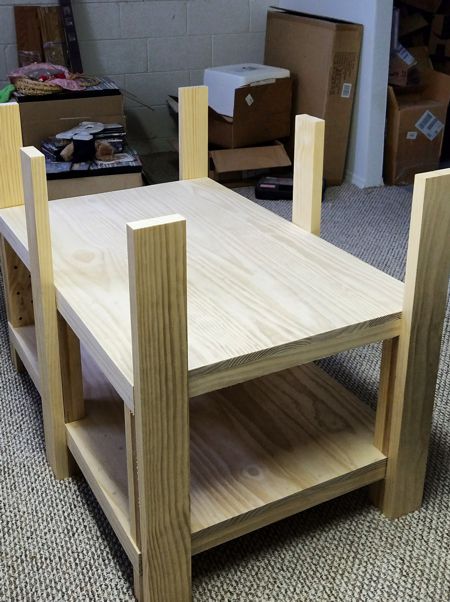
Then with a carpenter square, a few clamps, a couple of levels it was time to start assembling the base of the workbench. from this angle it shows a preview of why I like to use different woods to create a unique and distinctive design.
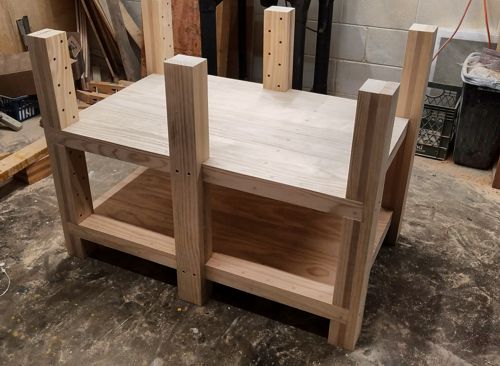
After the base was fully assembled it was time to plug all of the screw holes, and sand it down a bit. At this stage it probably weighed about 100 to 150 pounds. Not impossible to move, but probably something you wouldn’t want to drag around every day.
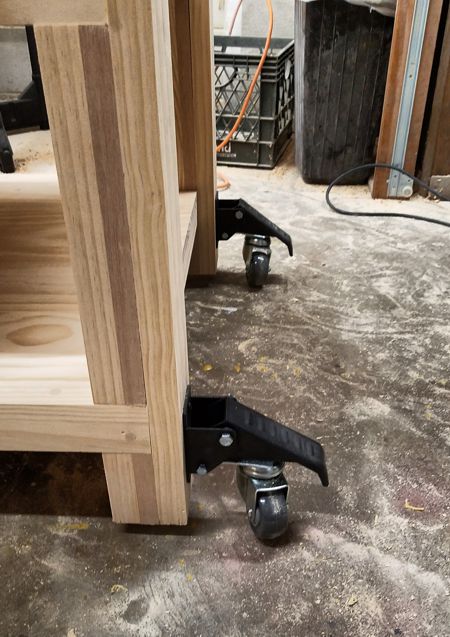
So I invested in some retractable casters for the it. They claim they can left 300 pounds each. Hopefully I’ll never have to put them to that test, but either way, the final workbench will be able to move around as needed.
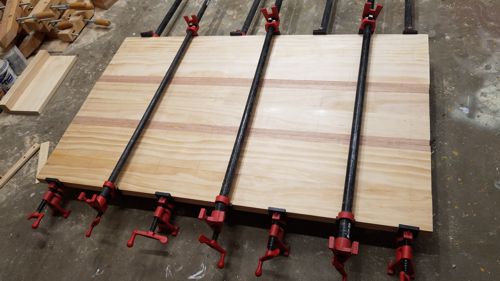
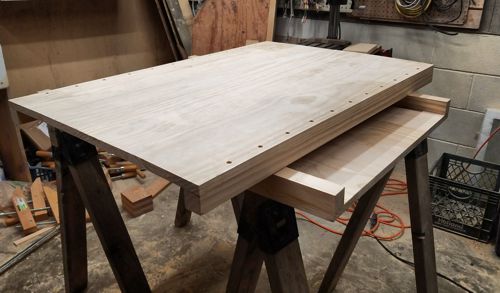
Now that the base is done, it time to start building the actual top of the workbench. As with the legs, the top is also made of pine and mahogany. the biggest difference is this is being assembled with 2″ thick stock.
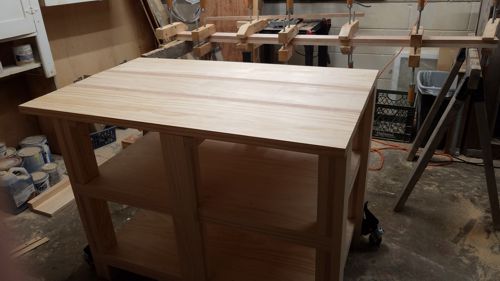
After the glue dried an squaring things up a bit, it was time for a test fit. It seems like everything is going to come together just the way that I was hoping it would. And if you notice in the back, there is some new gluing going on. In this case it was bringing some maple and mahogany together.
And obviously, since I created some additional stock, I have to use it somewhere. There is a reason for wood mix, I wanted to use the mahogany to match the rest of the design, and maple to cover the outer edges to give the workbench edges some additional durability that I wouldn’t get from just using pine.
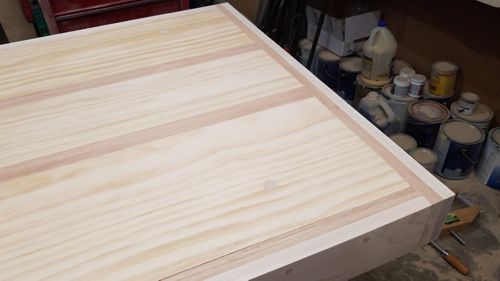
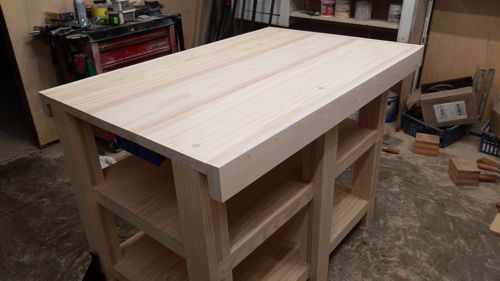
And I wanted to make sure to have a nice look to the top, even though I do plan to beat the heck out this thing, that doesn’t mean that I cannot make it look nice, at leas to start.
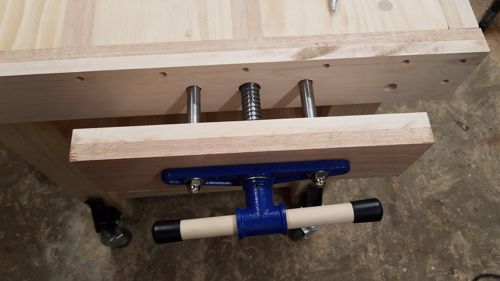
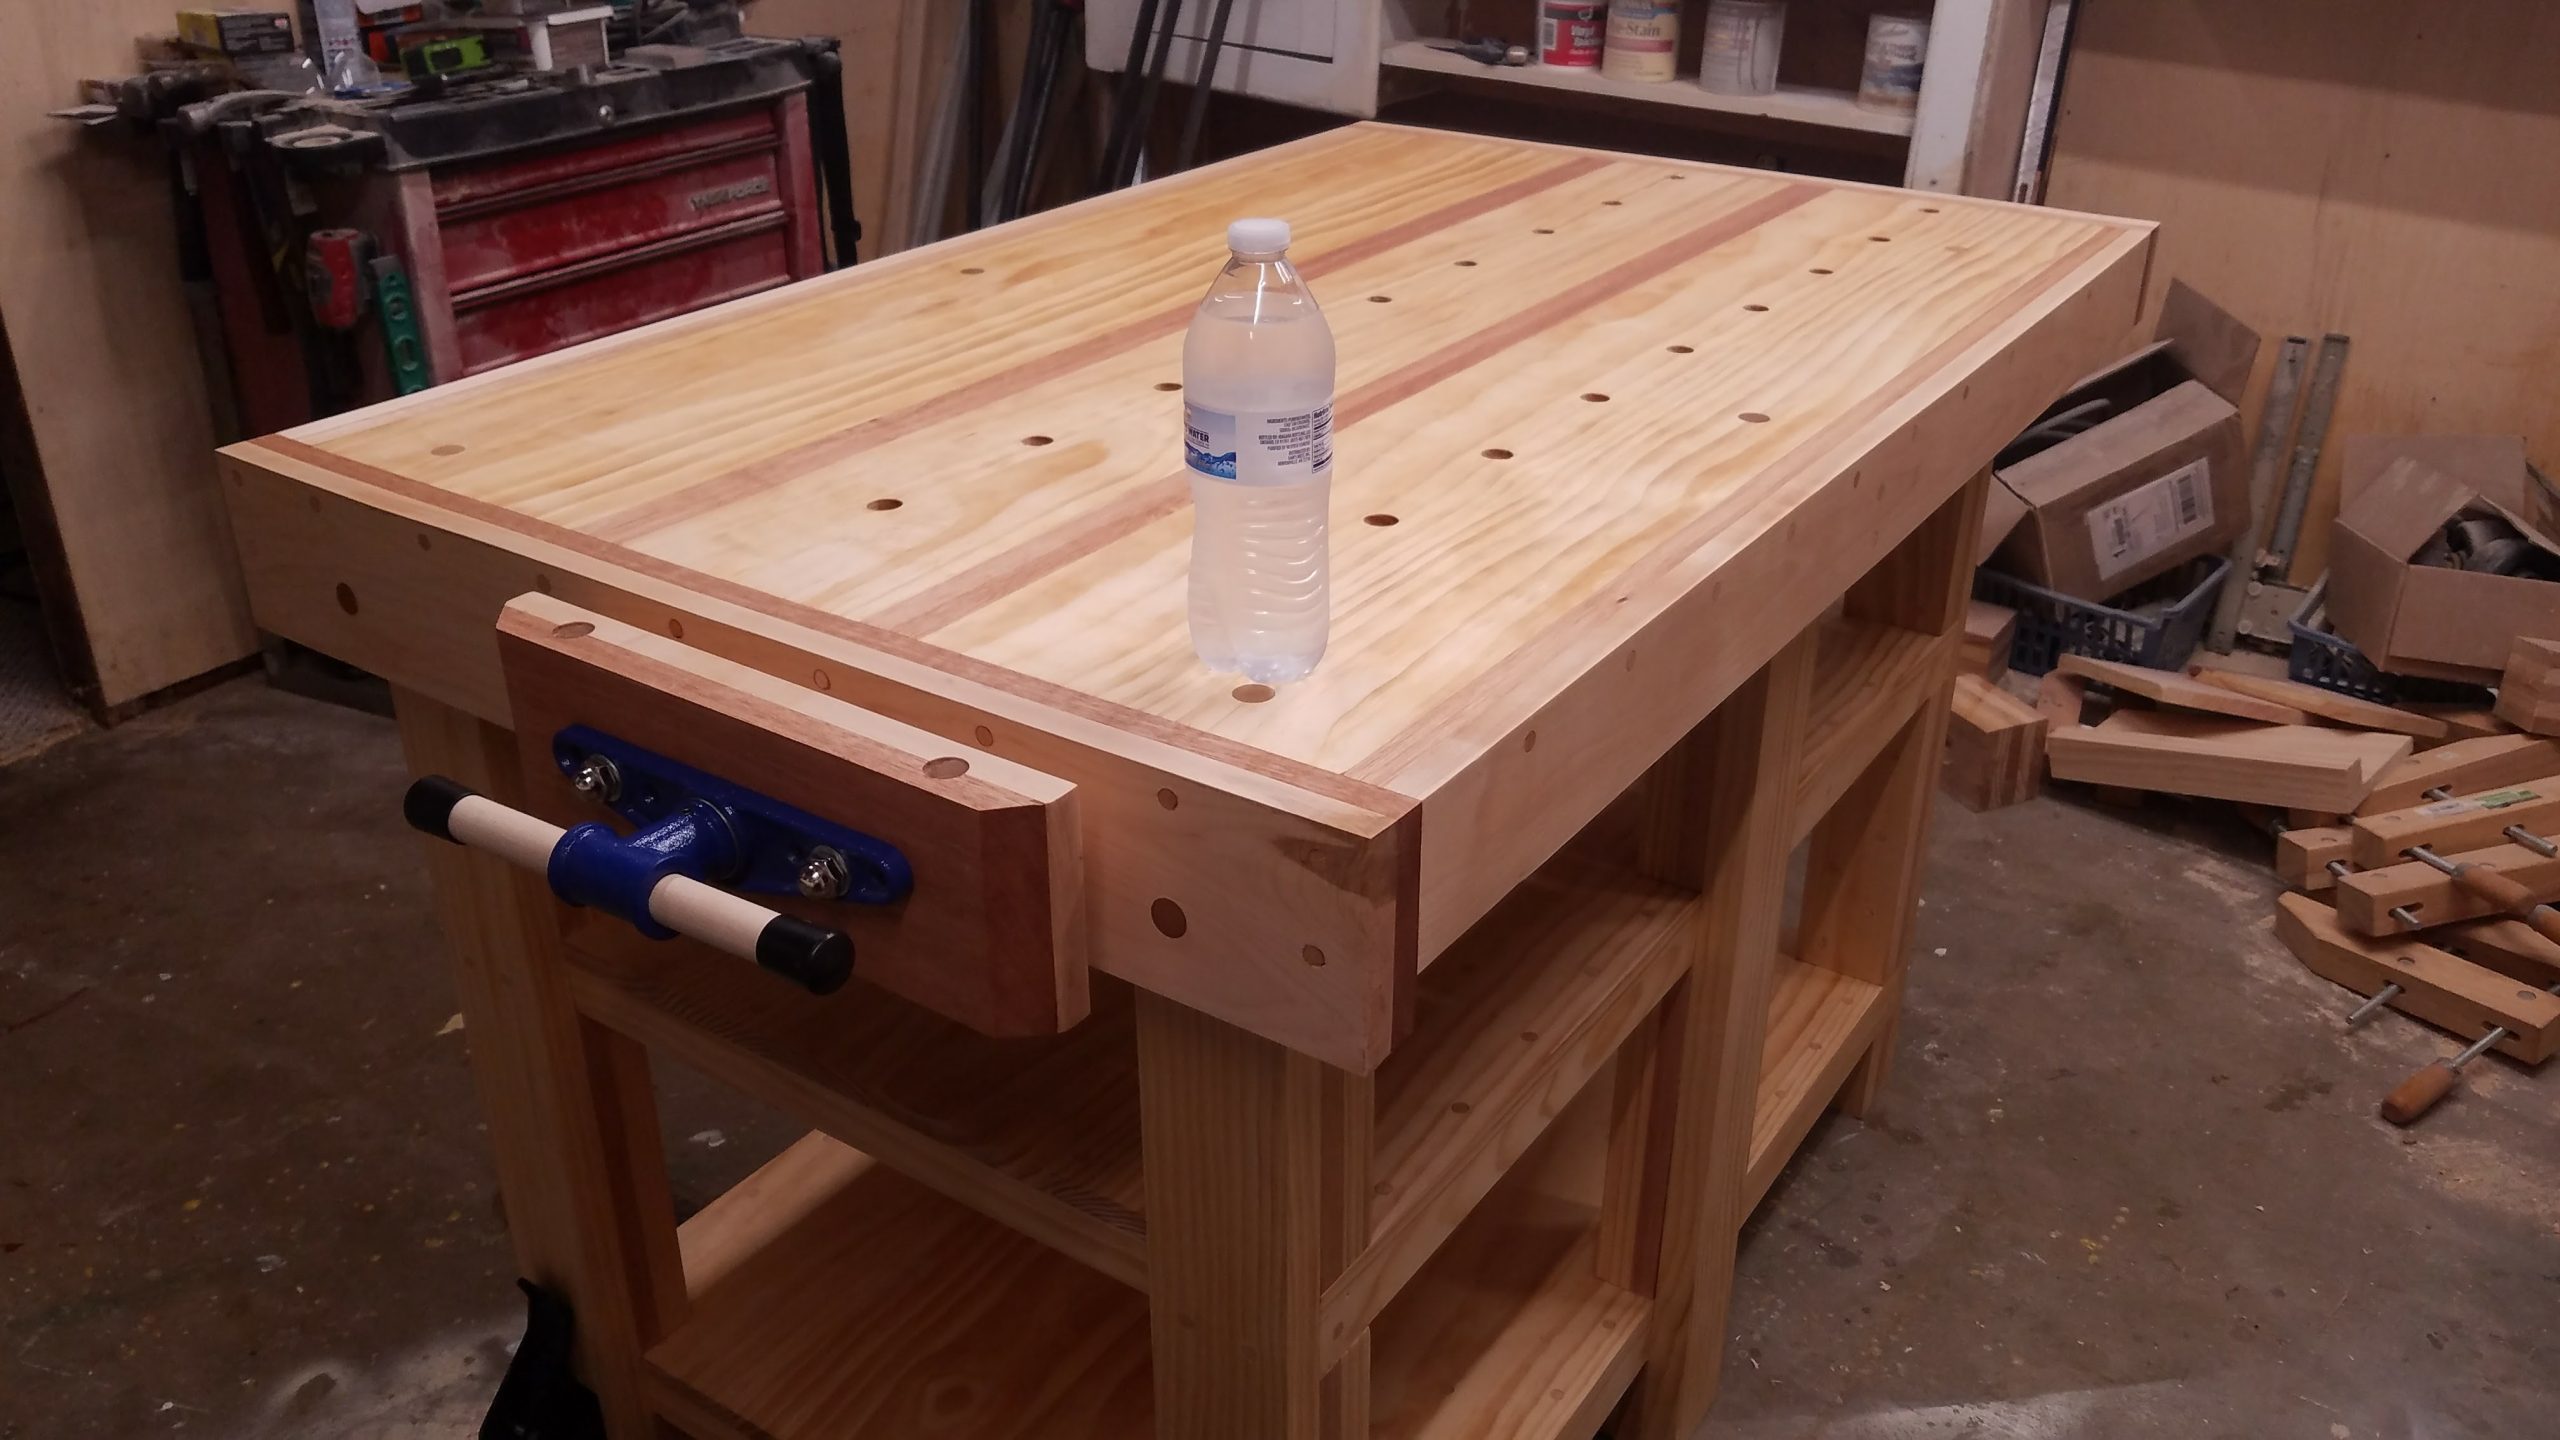
Then it was time to install my bench vise. I was happy to see that my template I made for my bench vise was spot on. Not too bad for a first time, and then first try. Sometime you have to rely on dumb luck.
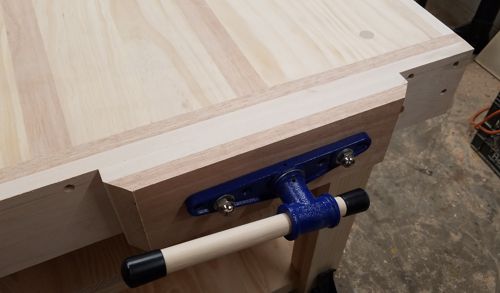
But I wasn’t happy with a simple square vise head, so I had to play around a little bit, and added a nice 45 degree bevel to the mahogany layer, while keeping as much the maple intact to keep the most surface area for the vise inner area.
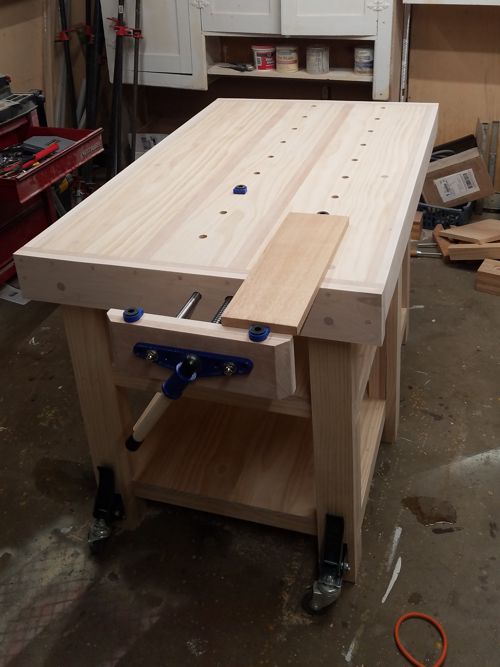
Then it was time to bore holes in the bench top and the vise head to make it so I could use bench dogs and hold downs. I figured in made sense to do this before I did the finish sanding in case anything went wrong in the process. Fortunately they all turned out perfectly.
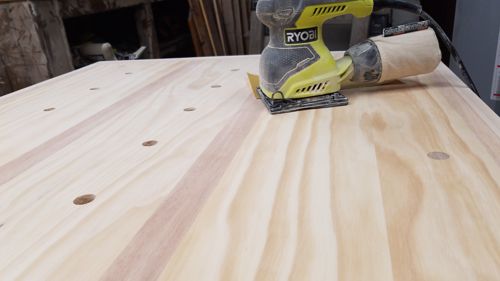
After that all that was left was to do a lot of sanding, i mean a lot. Did I mention there was a lot of sanding? Yes I know it will not stay perfect forever, but why not start with something nice.
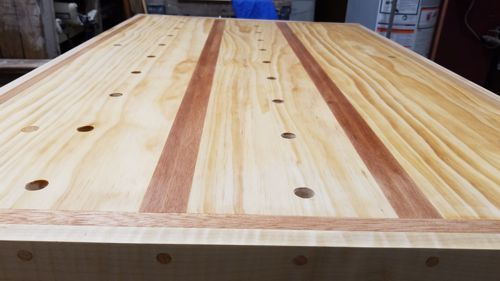
Then it was time to oil this guy down. The oil sealed down the workbench, and really showed why I used the light and dark woods in the design. I really think the whole thing turned out great.