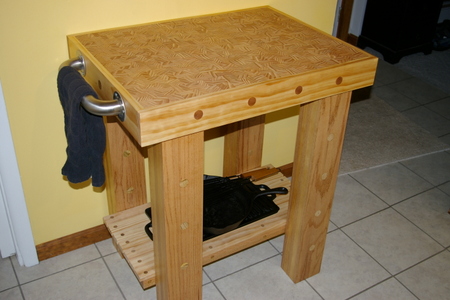
Here is the finished design of the butcher block, incorporating the top which was shown in my previous project posting. Above you can see the 140 pounds of blood, sweat, and tears… and lumber which has finally ended up in my kitchen.
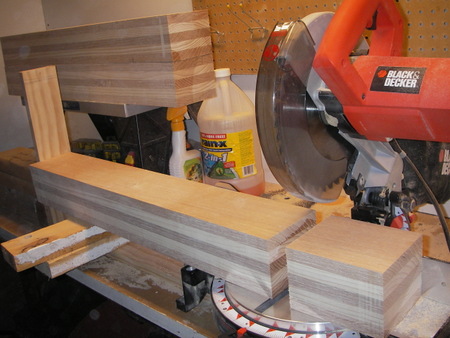
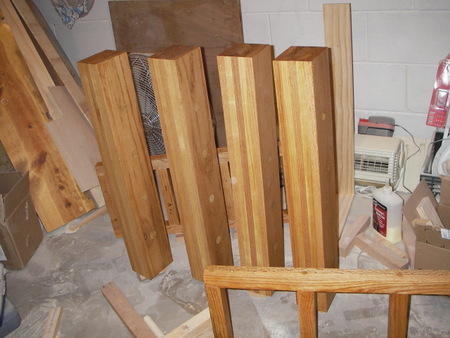
Starting with five slats of wood glued together and cut to size… times four. Thanks to the little jig you see above.
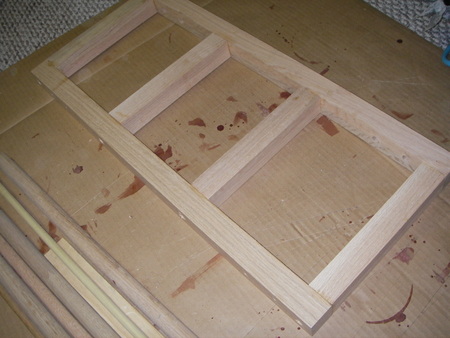
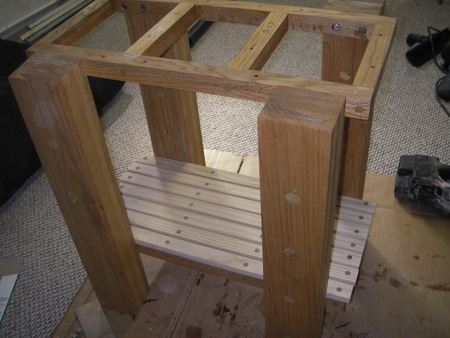
Then two matching brackets/supports which serve double duty to hold the legs in place, the bottom shelf, and the top on. All screws counter-sunk, covered over with dowel plugs, and finished sanded.
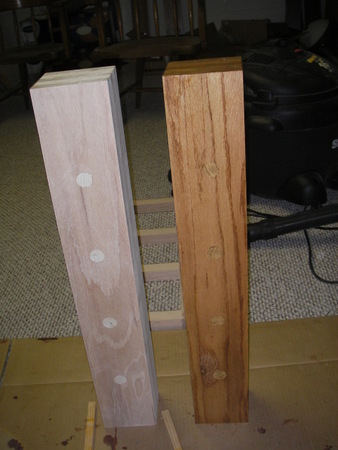
Next its a nice light antique finish to match the legs to waxed finish of the top. It not only matches the color, it also brings the grain out and makes the wood look a whole lot richer.
Then a light coat of finish before assembling the whole thing together. I decided to not stain the bottom shelf and just finish it to add a little more design to the final block.
Once the base was assembled I added a few more coats of finish on it, before mounting the top into place. BTW, I carried the base and the top upstairs separately to save my back.