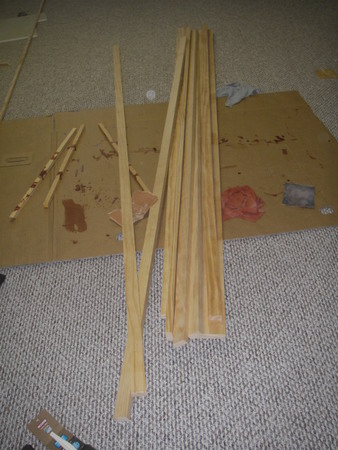
The latest project I’m working on is only about 1/3 of the way done, but I figured it was worth showing the process it took to get to where I am. Above you can see a small portion of the twenty-four 1″ x 2″ x 96″ slats of wood that I started with.
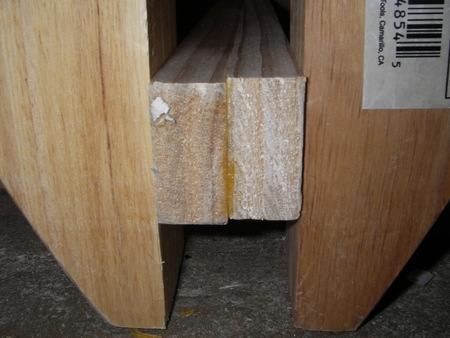
The first step was pairing up the pieces two at a time to create a group of twelve 2″ x 2″ x 96″ slats like you see above using heavy duty water-proof wood glue.
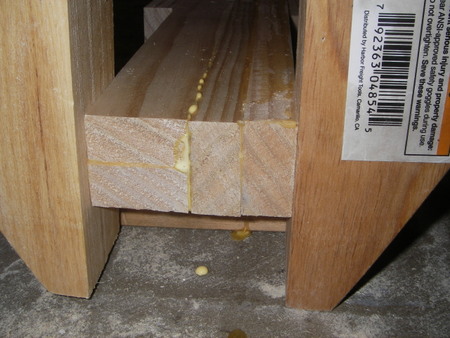
Once they were all dry, then it was time to pair those pieces up to create six 2″ x 4″ x 96″ slats in a very specific pattern like what you see above.
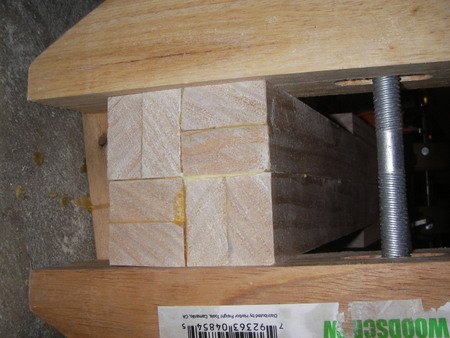
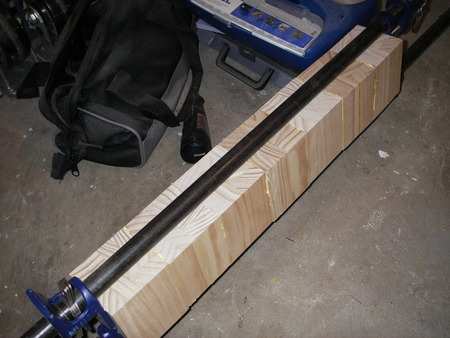
Once again, letting those slats dry, it was then time to glue them together to create three 4″ x 4″ x 96″ beams of wood. Basically it took about six days to make three 4″ x 4″ posts.
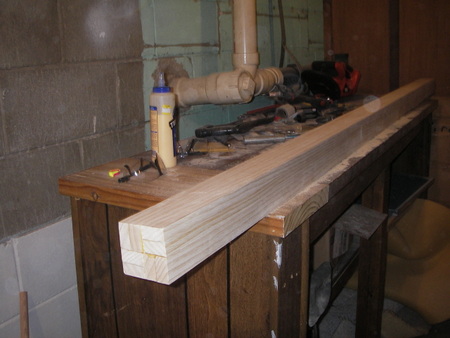
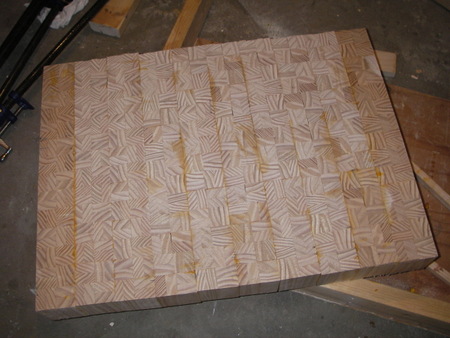
Of course the most important part was the patern you see on the ends. Above you can see it after running all four sides through the planer to level the edges, and square them up. All of them were ran through at the same time, to make sure they were all exactly the same size or just about 3.5″ square.
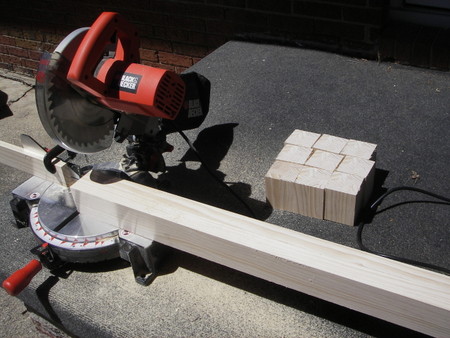
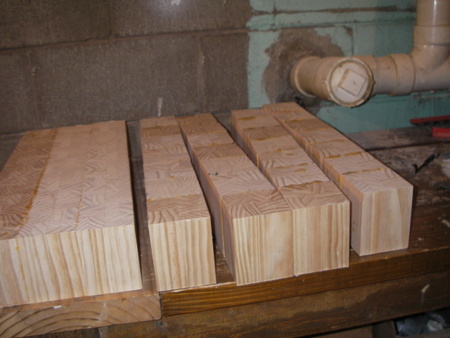
After that it was time to break out the chop saw and cut the beams to the actual size blocks I was looking for. How many blocks you might ask. In this case we are talking 70 of them.
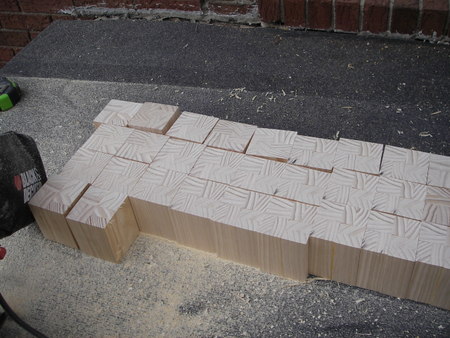
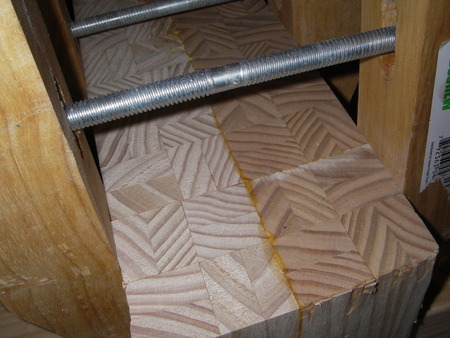
From here it was time to gather the blocks together and break out the glue and wood clamps again.
This for this stage I glued seven blocks at a time making sure to keep the pattern consistant across the piece. As you can see this has been a big hurry up and wait project. In the end the 70 blocks were now 10 strips of seven blocks
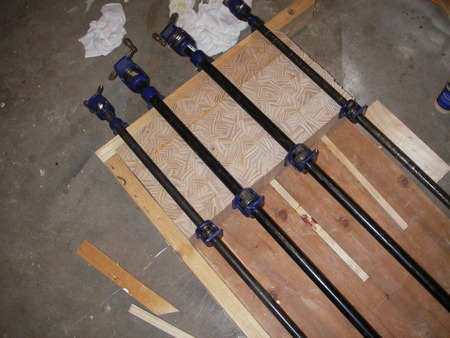
All of these strips were then ran through the planer once again to level things up and square them off again. Then, you guessed it, back to the glue and the clamps to bring them together.
At this point you can see how everything is starting to take shape. Or at least you can see how everything will come together in the end.
Instead of showing each and every new line of blocks as they were added, just look at the image above and picture it six more times until all ten rows were glued together using the same process.
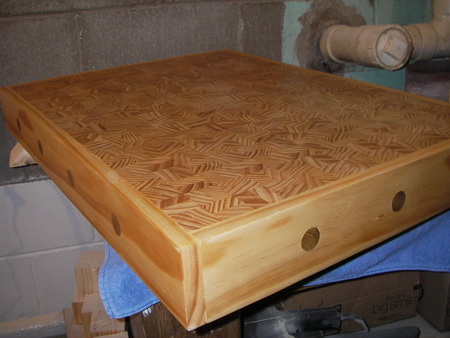
Finally they were all in one piece. At this stage of the game it’s time to break out the old belt sander to start sqauring the whole thing up, and level up the top and bottom.
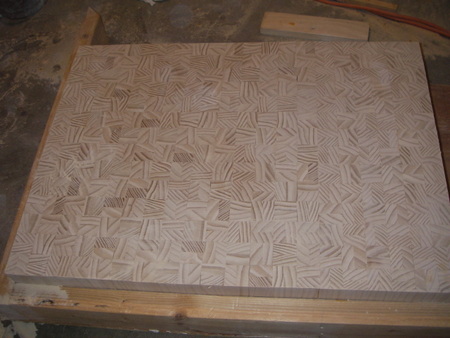
This process took about 2 hours and at this point you can get a really good look at the pattern design I was trying to acheive with my butcher block. In case you are wondering, the block is made up of 560 1″x 2″ x 3+” blocks of wood glued together in a retangle that after it is fully sanded and shaped comes in at just about 20″ x 30″.
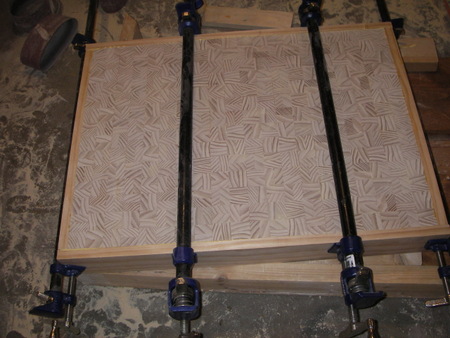
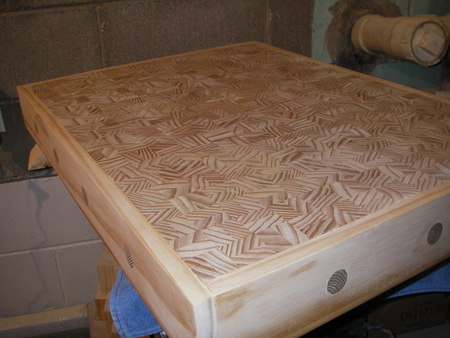
And we are not done. The next step was to frame out the top like you see above. Again with the glue and the clamps. In case anyone is wondering, at this point the project weighs in at over 50 pounds.
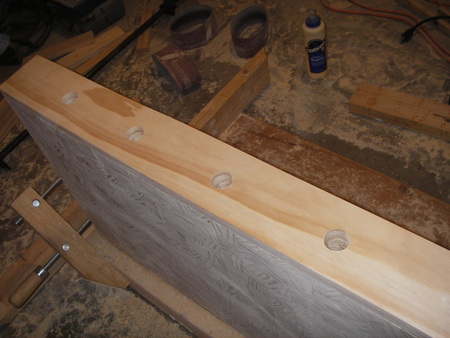
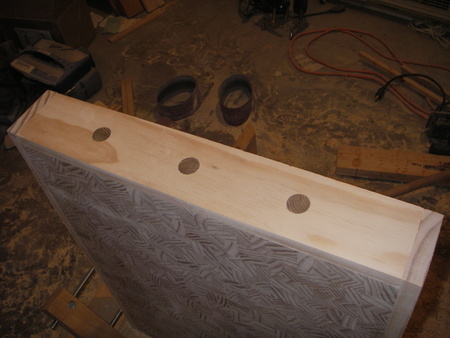
And we are not done yet! Above you can see the result of 1″ holes I have bored into the sides of the top all the way around. Each hole is about 9 inches deep, and there are four on each side, and three on the ends.
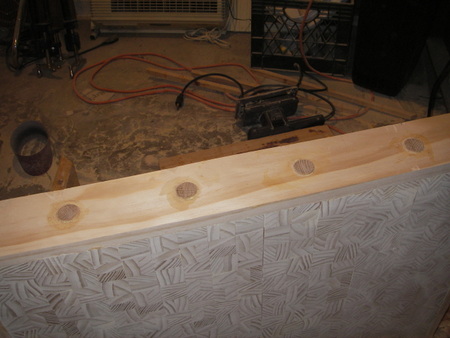
After that they were filled with 1″ oak dowels. They were all hammered into place and trimmed to about 1/8″ inch above the surface.
Then, once again we break out the old belt sander to level them out and make them flush with the sides. These dowels serve both as a source of support and stabilization, and as a decorative touch.
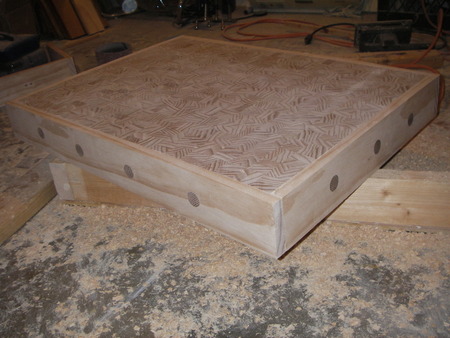
At this point the basic shape and form of the top is completed. Then the real sanding begins. By the point you see above there is probably over 100 hours into the project.
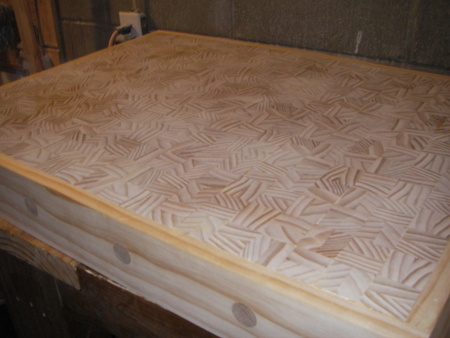
Above you can see the butcher block after a couple hours of rough sanding with 150 grit paper. With a normal project this is where I would stop and start applying stain and finish. Since this piece will be oiled and waxed to keep it food safe in the end, this was more of a starting point of where the real sanding begins. So it was time to break out the 400 grit paper.
Now you can see what five hours of ultra-fine finish sanding has on wood. The heat of the sanding and the removal of all blemishes and scratches really makes the grain in the wood pop out. If you could touch the surface it is as smooth as a piece of glass.

Then the oiling begins. The finish you see above is a combination of mineral oil and bee’s wax. For this finish I literally rub it in bare handed so it is a hand rubbed finish.

To complete the finish it is applied fairly thickly and allowed to soak in for about 2 hours, whatever is left is buffed off and another coat is added. That one I let dry soak in for about 10 hours. After that more buffing, some light smooth sanding to remove any grain which might have raised up while the finish soaked in, then apply a third coat. Let that one settle for a couple of hours before buffing it once more. At that point it’s is as finished as it will be while I work on the rest of the project… which will be another post later on.