Sometimes you start with a simple sketch for something you might want to build.
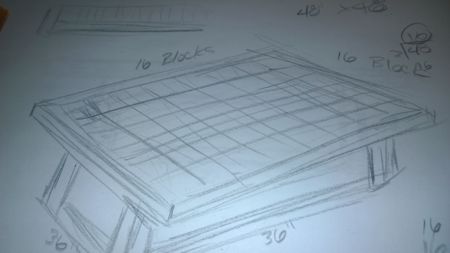
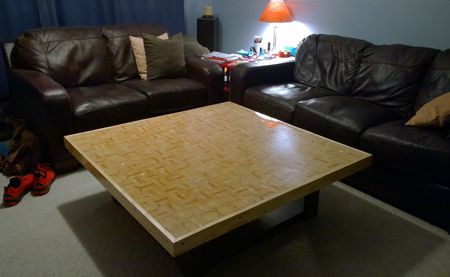
In this case I felt the need to make a bigger coffee for my living room, but at the same time I wanted it to be a little more detailed and creative than the simple ones that you can find in any furniture store. 
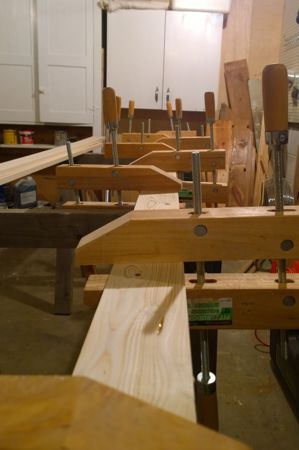
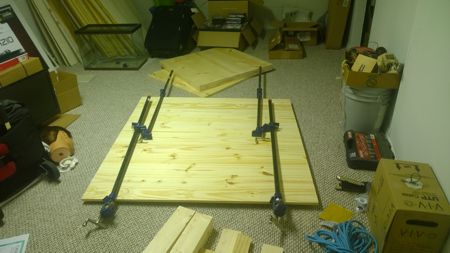
So then the gluing begins. Okay, the next step was really then we go and buy the wood after deciding exactly how I plan to make the table look when all is said and done.
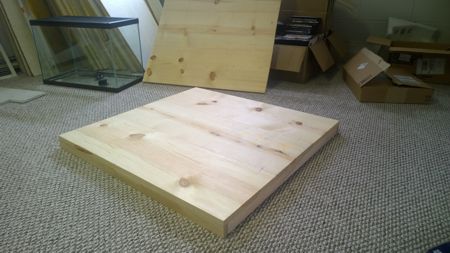
The table actually has three distinct areas that I was working on at the same time. The base pictured above.
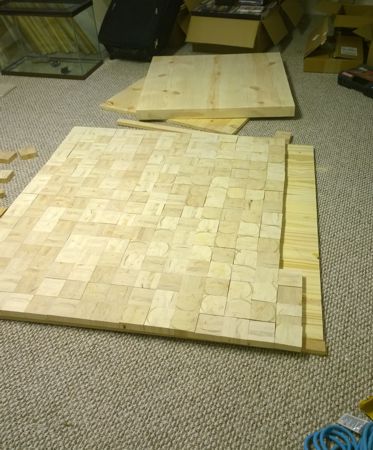
The table top foundation in the picture above. You can see the top and the base in the same picture.
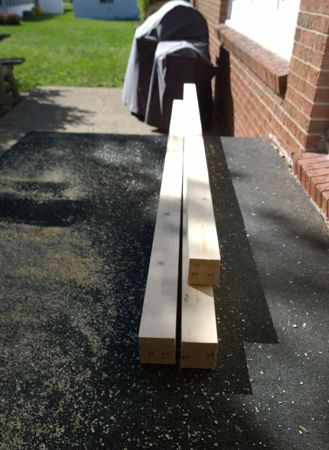
And the blocks that will be used to cover the top with the pattern I want. What you see is 8 foot lengths of four 1 x 3 planks glued and shaped into a 3″ x 3″ square.
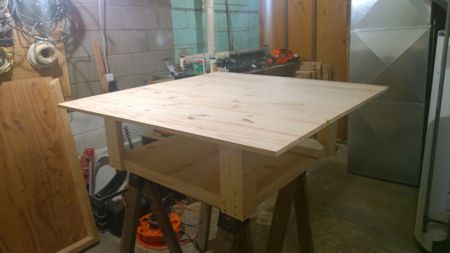
The rough test to make sure the table layout with work is the next step. The look and balance seems to be good, so time to move forward.
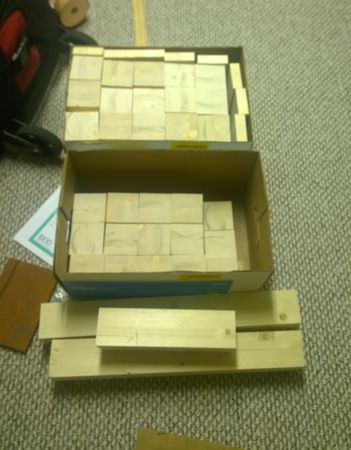
Then we cut the 270 blocks, of which I will need 256 blocks to cover the 4′ x 4′ table top.
To make sure that the top is the right size, and that the pattern I was looking to make will work the way that I want it to look.
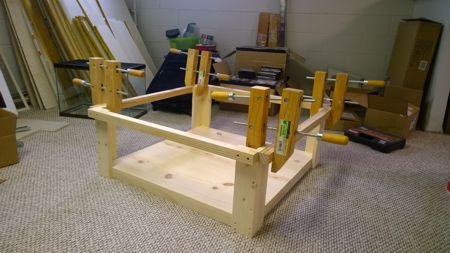
Then I finished the final design for the base; one that would easily be able to support the full weight of the top when it’s finished, and whatever else I need to place on top of it.
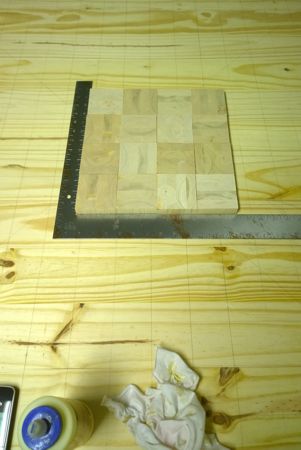
After that.. the gluing of the blocks begins. There are a lot of guidelines drawn on the table to make sure that I stay on track with the layout, and the carpenter square to try and keep everything squared away.
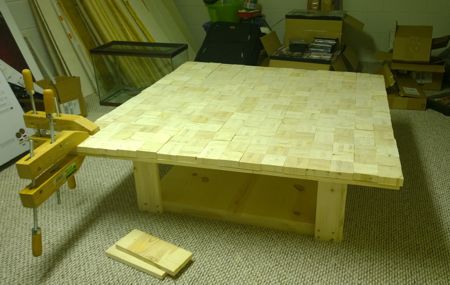
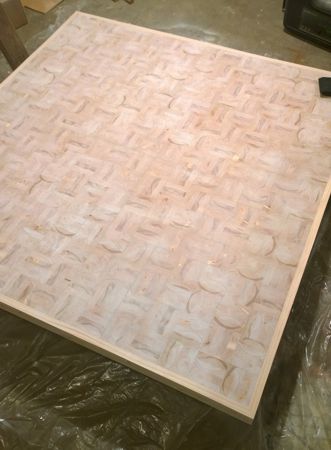
After 5 days and sixteen blocks at a time finally all 256 blocks are glued in place. It would be great if that what was all I needed to do.
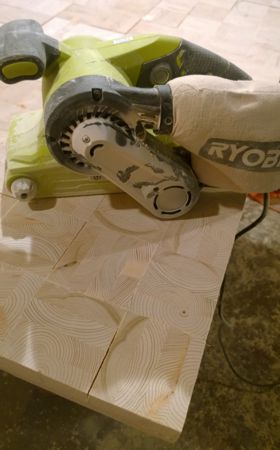
Let the sanding begin. With low grit paper on a belt sander it doesn’t take all that long to level things out, and square up the edges and the corners.
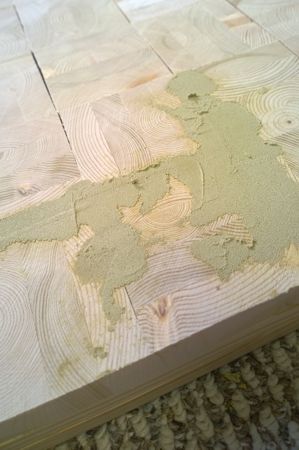
After that it takes a little time, then it is the filling of the openings, the gaps, and the cracks in the surface.
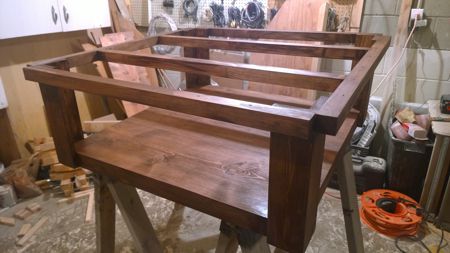
While doing that I am still moving the base forward staining it a nice dark hickory color.
And then a basic color test for the table design.
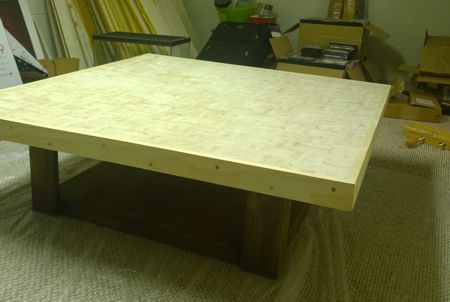
Finally adding the edge to the top to finalize the design.
Next it’s time for the final sanding of the top.
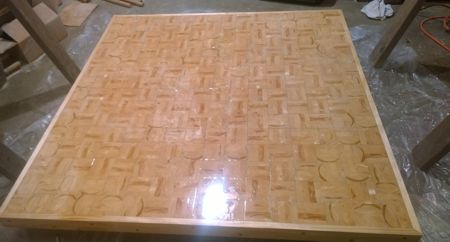
Then it’s the first layer of finish for the top.
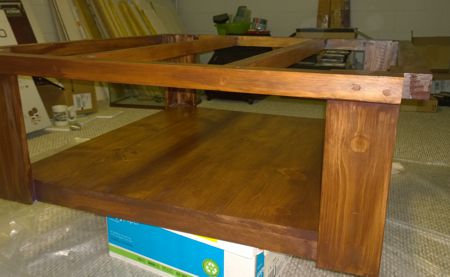
While putting on the last layers of finish on the table base. Each part is done using a slightly different style.
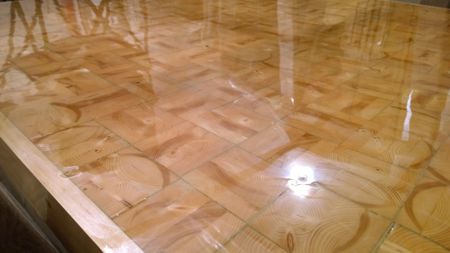
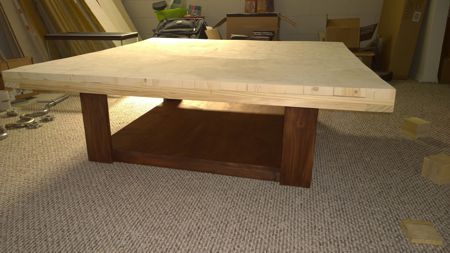
After that the final layer of finish on the top using a thick epoxy glaze coat.

Then after several days of drying, and finally mounting the top to the base, it was time to put the table in it’s final place in my living room. It looks almost like it was designed for the space and the room… because it was.